Cold Brew Coffee at Home: A No-Equipment Guide
Cold brew has a reputation for requiring gear: a glass dripper, a stack of filters, a scale that measures to the gram. None of that is true. The coffee you get from a jar on the counter, left overnight and strained through whatever you already own, tastes nearly identical to the fussy version — sometimes better, because you can taste each batch and adjust the next one. What cold brew actually needs is coffee, water, and patience. Everything else is optional.
Start With a Ratio, Not a Gadget
Cold brew is a concentrate. You brew it strong, then dilute it in the glass, the same way you'd handle a cordial. Once that clicks, the numbers stop being intimidating.
A reliable starting point is 1 part coffee to 8 parts water by weight. If you have a kitchen scale, that means 100 grams of coarse coffee to 800 grams of water. The grounds drink up some of that liquid, so expect to end up with roughly 600 milliliters of concentrate — enough for four or five glasses once diluted.
No scale? Use volume. One heaped cup of coarse grounds to three cups of water gets you close. It won't be identical batch to batch, but cold brew is forgiving; you'll taste the difference and correct for it next time.
Grind Coarse, Then Deal With the Dust
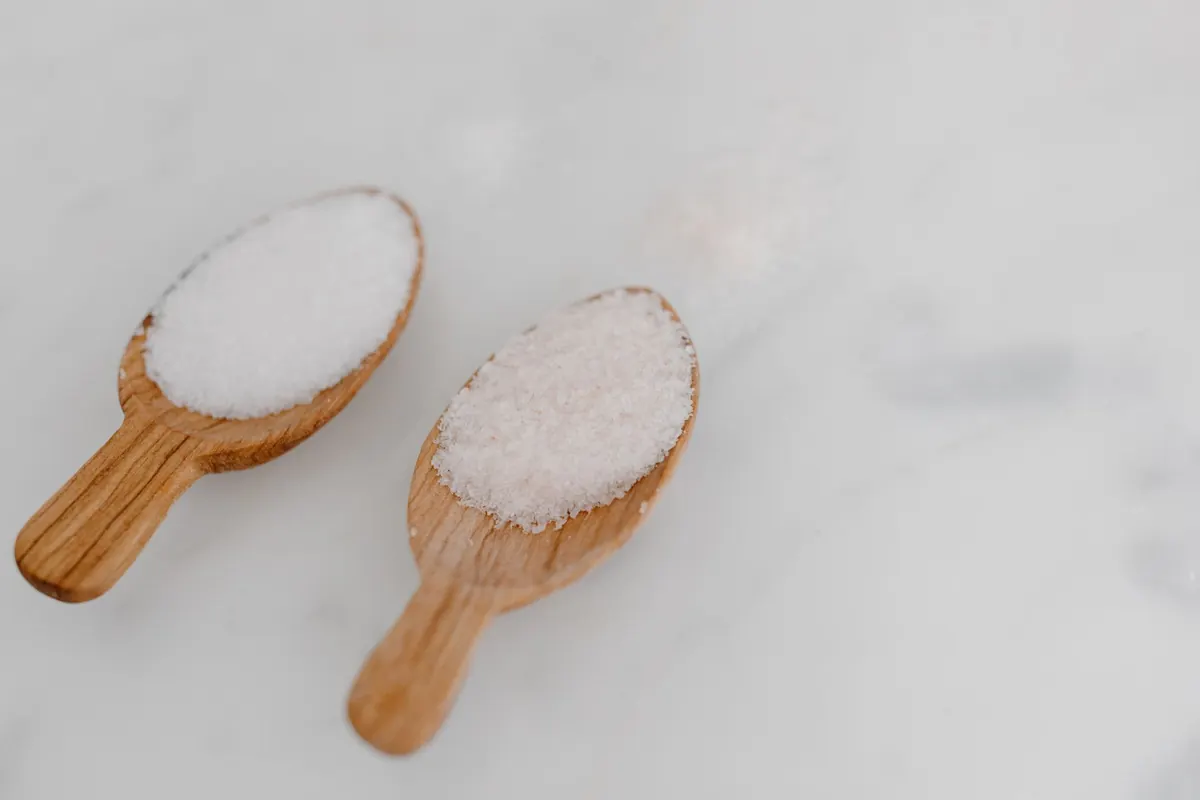
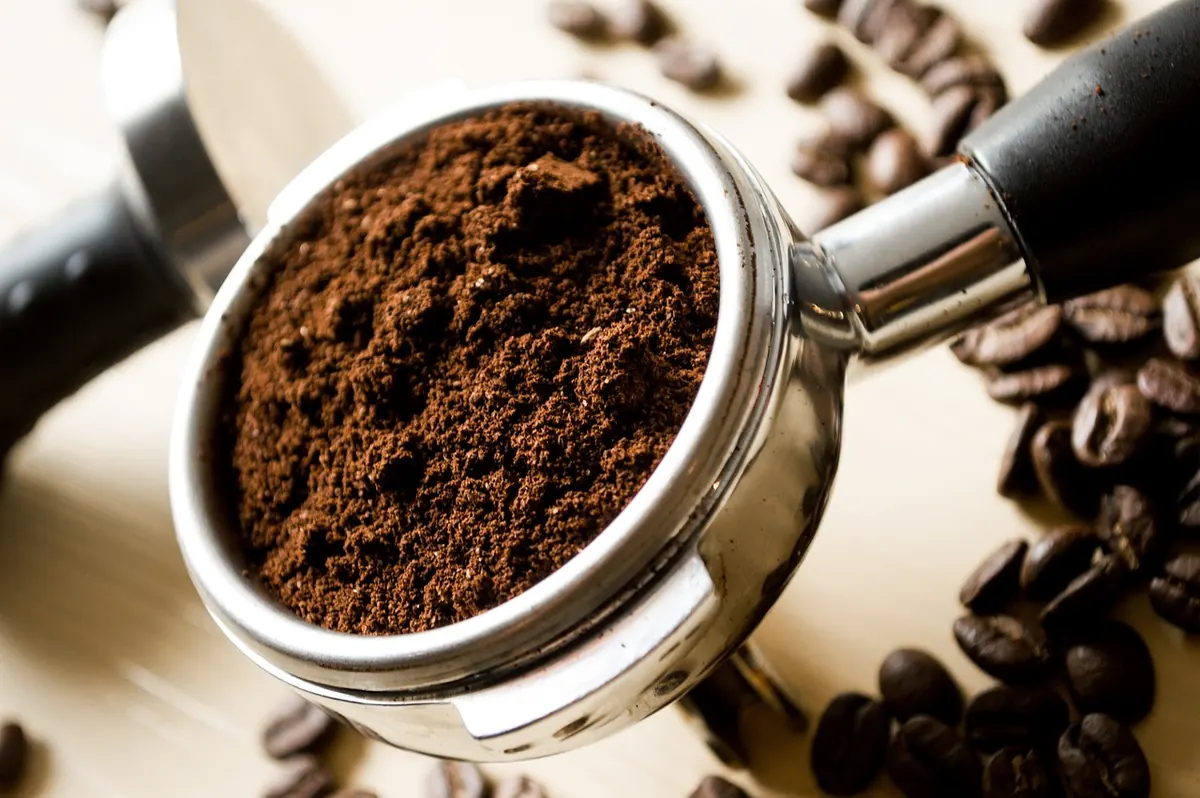
Aim for the texture of raw sugar or coarse sea salt. Too fine and you'll get silt no kitchen strainer can catch, plus a harsher, more bitter cup. Too coarse and the water struggles to pull anything out, leaving you with brown water.
Supermarket pre-ground coffee is usually ground for a drip machine, which is finer than you want. You can still brew with it — shorten the steep and strain twice — but beans you grind yourself give a cleaner result.
If all you have is a blade grinder
Blade grinders produce boulders and dust at the same time. Pulse in two-second bursts, shaking the grinder between pulses, until most of the coffee looks like coarse sand. Tip it into a fine sieve and shake out the dusty fraction. Brew with what stays in the sieve.
The shortcut worth taking
Buy beans at a coffee shop and ask them to grind coarse for cold brew. Tell them you're steeping for twelve to eighteen hours. Most shops will do it while you wait, and it saves you the whole grinding mess.
The Steep: Twelve to Eighteen Hours, Mostly Unattended
Combine the grounds and water in any jar, pitcher, or big bowl. Stir once to make sure every ground is wet, cover it, and walk away. At room temperature, twelve to eighteen hours is the sweet spot. In the fridge, give it eighteen to twenty-four; the cold slows everything down, which produces a cleaner, less bitter brew with almost no risk of oversteeping.
One stir around the four-hour mark helps. Constant stirring doesn't. Past twenty-four hours at room temperature, cold brew starts tasting woody and flat. Leave some headspace in the jar — the grounds swell.
Filtering Without a Coffee Setup
This is where people assume they need equipment. They don't. You need something with holes small enough to hold back coffee grounds, and you probably own three of them already.
- A fine mesh sieve set over a bowl or jug. Catches most of the grounds.
- A clean cotton tea towel or flour sack cloth, draped inside the sieve. Slower, much cleaner.
- Cheesecloth, folded into four layers and set in a colander.
- A French press: plunge, pour, then strain once more through cloth.
- A paper coffee filter or paper towel in a sieve. Slow, but it produces the clearest brew.
The trick is to strain twice. Pour the whole batch through the sieve first, let it sit for ten minutes, then strain the liquid again through cloth or paper. Whatever settles to the bottom in between stays behind.
Resist the urge to squeeze or press the spent grounds. Pressure pushes fine particles through your filter and drags out bitter compounds. Let gravity work, then compost the grounds.
Dilute, Sweeten, Store
Start by diluting one part concentrate with one part cold water, then adjust. For a milk drink, use two parts milk to one part concentrate. Ice waters it down as it melts, so either brew the concentrate a little stronger or freeze some cold brew in an ice tray and use those cubes.
Sugar doesn't dissolve well in cold liquid. Make a quick simple syrup instead: equal parts sugar and hot water, stirred until clear, cooled, and kept in the fridge. A spoonful goes a long way.
Store concentrate in a sealed jar in the fridge. It's usually good for about a week; taste it before you pour, and discard it if it smells off or turns fizzy. Cold brew is strong, so start with a smaller serving than your usual cup of coffee. If you're pregnant, limiting caffeine for a medical reason, or taking medication that interacts with caffeine, ask a doctor what's right for you.
When It Doesn't Taste Right
- Bitter and harsh: steeped too long, or too much fine dust in the grind. Cut the next steep by two or three hours.
- Weak and flat: not enough coffee for the water, or a steep that ended early. Move toward 1 part coffee to 6 parts water.
- Sour or tea-like: under-extracted. Add two hours, or grind slightly finer — but stay coarse.
- Gritty or muddy: strain it a second time, and stop pressing the grounds.
- Oily, heavy mouthfeel: fine particles made it through. Sift the grounds before brewing.
A Batch That Fits Your Week
Pick a night that suits you — Sunday works for a lot of people — and start small: 100 grams of coarse coffee, 800 milliliters of water, into the fridge. Strain it the next evening and you have concentrate for several days. Write the ratio and the hours on a strip of tape on the jar so you're not guessing when you want to repeat it.
Then change one thing per batch. A little more coffee. Two fewer hours. A second strain. Three or four tries in, you'll have a house cold brew that beats the bottled stuff, made from a jar, a sieve, and a night of doing nothing.
Photo: eliasfalla / Pixabay